
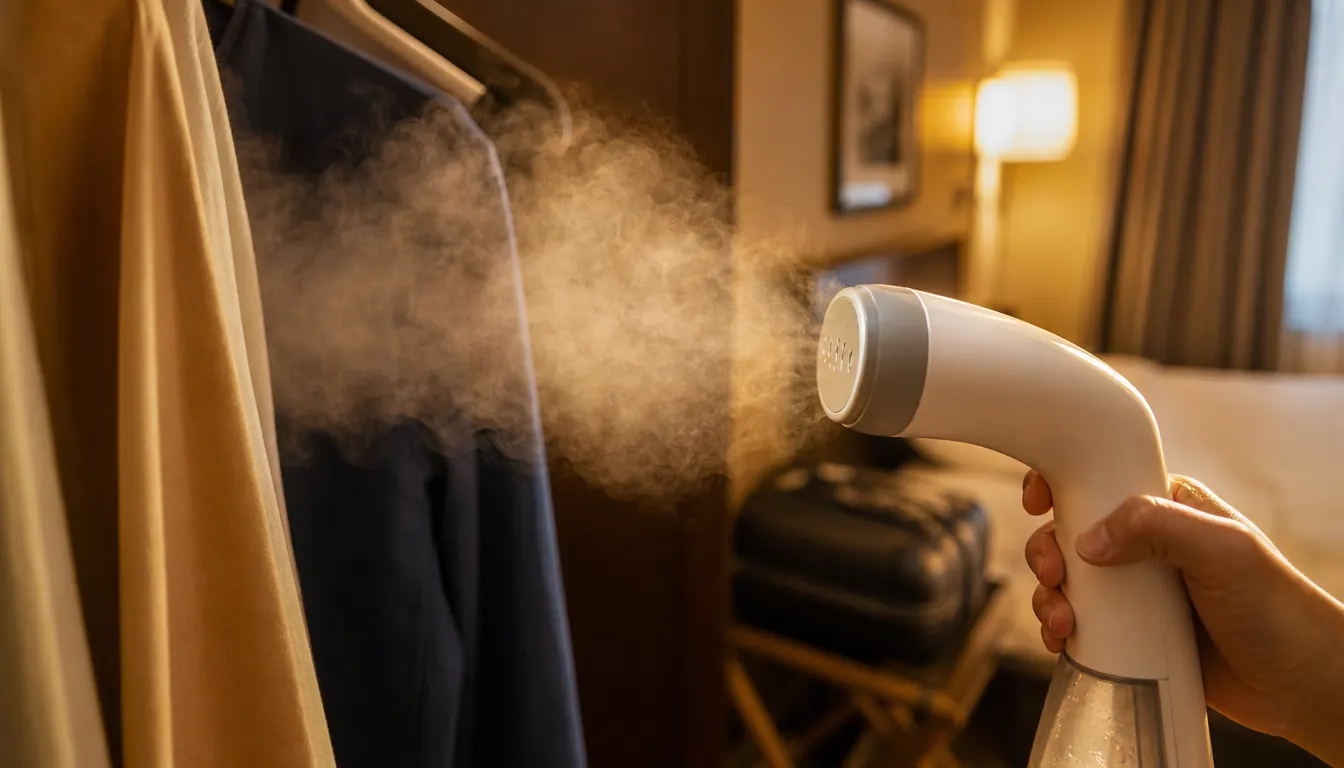
I've spent the better part of three years watching business travelers yank the hotel iron out of the closet, blast it on the wrong setting, and put a shiny scorch mark on a perfectly good shirt twenty minutes before a meeting. I used to do the same thing. Now I carry the HiLIFE handheld garment steamer and I haven't touched a hotel iron since. But a steamer isn't idiot-proof. Use it wrong and you'll soak your shirt, leave water spots, or collapse the collar on a fabric that needed a different approach. The technique matters as much as the tool.
This guide covers exactly how to steam clothes on the road without ruining them. Five steps, two or three key rules per step, and a fabric-by-fabric cheat sheet at the end. If you're shopping for a steamer first, read my full long-term review of the HiLIFE steamer for the backstory. If you already have one in your bag, let's get into it.
Still ironing hotel clothes in the dark? The HiLIFE steamer heats up in 20 seconds and fits in a dopp kit.
128,969 Amazon reviews. Rated 4.3 stars. 240ml water tank that runs about 10 minutes continuous. It's the steamer I've recommended to more fellow travelers than any other piece of gear in my bag.
Amazon Check Today's Price on Amazon →Step 1: Fill the Tank Before You Do Anything Else
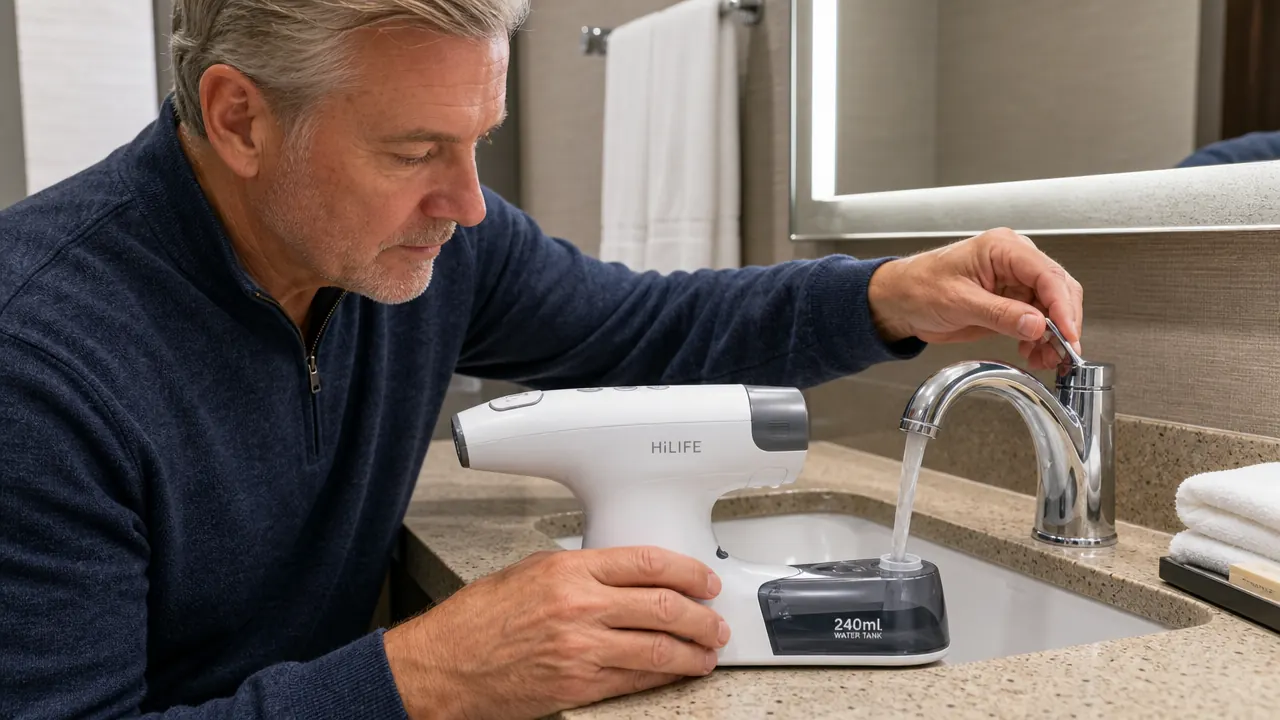
The HiLIFE has a 240ml removable water tank. Fill it with clean tap water right after you check in, not five minutes before you need to leave. Water quality matters more than most people expect. Hard water with high mineral content will eventually clog the steam nozzle with scale buildup, which shows up as intermittent spitting or reduced steam output. If you're staying somewhere with noticeably hard water, mix in a small amount of distilled water if you have it. On most trips, plain tap water is fine.
Do not overfill the tank past the max line. When a steamer is overfilled and you tilt it, water pushes through the nozzle before it reaches steam temperature and drips directly onto your fabric. That's the source of most wet-spot complaints. Fill to the line, snap the tank back in firmly until you hear the click, and you're good.
One more thing before you plug in: always keep the steamer upright during heating and while in use. Tilting a heating steamer at steep angles or storing it sideways while hot can push water into the heating element or onto your clothes. Upright means upright.
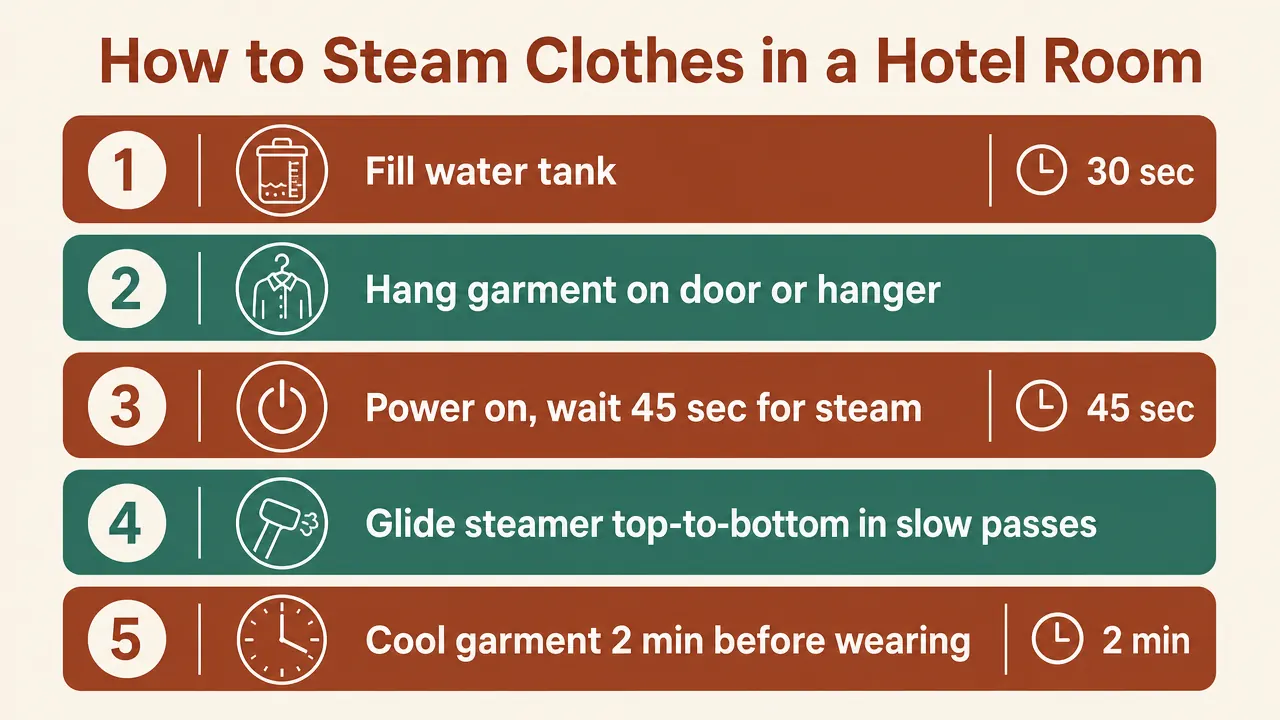
Step 2: Heat It Fully Before Touching Fabric
The HiLIFE reaches working temperature in roughly 20 seconds, but that doesn't mean you should immediately press it against a shirt. For the first 10 to 15 seconds after the steam starts flowing, the initial burst often carries small water droplets mixed in with the steam. Hold the steamer away from any clothing and let it vent into the air until the steam runs clear and consistent. This takes about half a minute on most plugs, a bit longer on weak European outlets.
A safety note here that I mean seriously: the steam coming out of this unit reaches approximately 200 degrees Fahrenheit. That's hot enough to cause a burn in under a second. Keep the nozzle pointed away from skin while heating and while in use. If you're steaming around children in the room, move the cord out of reach and set the steamer down on a stable surface when you step away, not on a bed or soft surface where it can tip. It sounds obvious until it isn't.
Step 3: Hang the Garment Correctly Before You Start
Steaming a garment draped over a chair is a waste of time. The fabric needs to hang under its own weight so the steam can work with gravity to pull wrinkles down and out. Use the hotel room door, a shower curtain rod, or a high hook. If the only option is a low hanger, clip the bottom of the shirt to keep it taut. For trousers, hang by the cuffs so the leg fabric stretches vertically.
For shirts: button the top two buttons and steam from the inside of the collar first. Collars set the shape of the whole garment. If you steam the collar correctly, the shirt looks pressed even if you only have time to hit the front placket and the sleeves. For jackets and blazers: hang them on a heavy wood hanger if the hotel has one, which helps the shoulders hold their shape while you work.
Natural fabrics like cotton and linen respond best when slightly damp from ambient steam before you start. If you've been in a dry climate or the hotel room is running heavy AC, hang the garment in the bathroom for two minutes while the shower runs hot. That pre-moistens the fibers and cuts your steaming time roughly in half.
Step 4: Use the Right Distance and Motion for Each Fabric
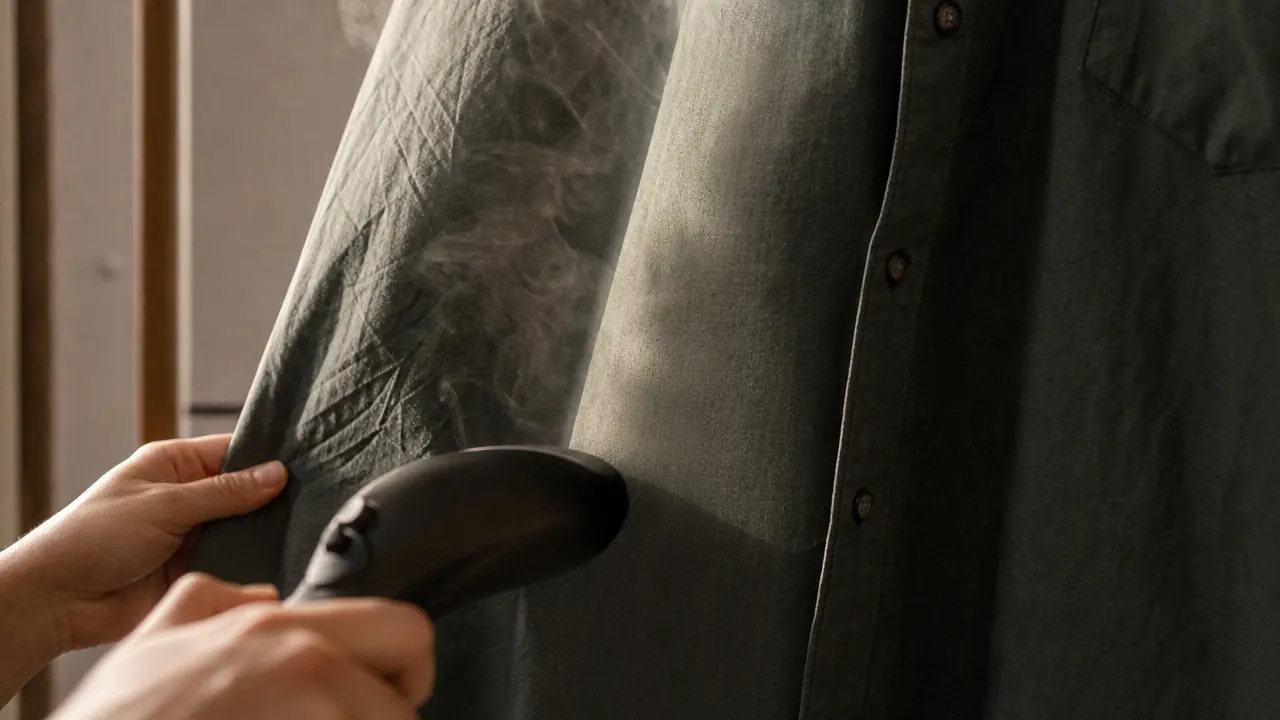
Distance is the single biggest variable between a steamer that works and one that leaves marks. The general rule: heavier, more durable fabrics can handle the nozzle closer and direct contact stretching. Delicate fabrics need distance and a hover technique. Here's my working cheat sheet after three years on the road.
Cotton dress shirts: hold the nozzle 1 to 2 inches from the fabric, move in slow vertical strokes, and use your free hand on the opposite side of the fabric to pull it taut as you go. Linen: same distance, but linen wrinkles deeply and you'll need to go over each section twice. Move slowly and let the steam penetrate before moving on. Wool (suit fabric, blazers): hold 2 to 3 inches away and use a hovering circular motion. Never touch a steamer nozzle directly to wool or you risk flattening the nap and leaving a permanent shine mark. Silk and delicate blends: hold 3 inches away minimum, use the hover method, and don't let the nozzle touch. If wrinkles are stubborn on silk, hang the garment in the bathroom with a hot shower running rather than going closer with the steamer. Synthetic fabrics like polyester: these are the most forgiving on wrinkles but also the most vulnerable to heat. Keep the nozzle 2 to 3 inches away. Synthetics melt at temperatures lower than natural fibers.
For collars and cuffs, the technique shifts. Use the flat nozzle edge like a guide and press the fabric gently against it with your fingers from the opposite side. You're not ironing, you're shaping with steam and light tension. This gets crisp results on cotton collars in about 90 seconds per collar.
Distance is the single biggest variable. Get too close and you wet the fabric. Stay too far and you do nothing. For most dress shirts, 1 to 2 inches is the sweet spot.
Step 5: Let It Cool and Dry Before Folding or Packing
This is the step most people skip and then wonder why their shirt looks worse after steaming than before. When you finish, the garment is warm and slightly moist from the steam. If you fold it immediately, you set new wrinkles right into the fabric while it's in that pliable state. Hang it for at least 5 to 10 minutes before putting it on or packing it away.
For the steamer itself: unplug it, let it cool for at least five minutes, then empty any remaining water from the tank. Storing the steamer with water in it is a slow path to mineral buildup and eventually a leaky or spitting unit. A quick rinse of the tank every few trips keeps the steam output clean. When it's fully cool, pack it in a small zippered pouch or the fabric sleeve it came with to protect the nozzle.
If you notice the steamer spitting water inconsistently, that's usually one of two things: the tank is overfilled, or there's mineral scale in the heating element. For scale, fill the tank halfway with a mix of equal parts white vinegar and water, run the steamer until the tank is empty into a sink, then run one full tank of clean water through it. That clears the scale and restores clean steam output.
What Else Helps
Technique covers most of it, but a few supporting habits make the whole system work better on the road. First, pack your clothes in the right order. Place the garments you'll need early in the trip on top so they're easy to pull out and steam immediately, while the ones you won't wear until day three or four sit undisturbed and arrive with fewer creases. Second, roll casual clothes but fold dress shirts and trousers flat with tissue paper between layers if you're carrying anything formal. Third, don't wait until morning to steam. Steam the shirt the night before, hang it overnight, and it'll be perfectly set by the time your alarm goes off. Trying to steam and wear something in the same 10-minute window is where the wet-shirt problem usually lives. And if you want to understand why 128,969 people have reviewed this particular steamer, and what the complaints in the one-star reviews are actually about, check out the full honest review before you buy.
The right technique only works if the steamer itself is reliable. The HiLIFE has been in my bag for three years and hasn't let me down.
240ml tank, 700W, heats up in 20 seconds, packs to about the size of a tall water bottle. At its current price it's the easiest travel-gear decision I can point you toward.
Amazon Check Today's Price on Amazon →